How to Install a Turnbuckle?
Installing a turnbuckle involves extending its threaded rods, connecting them to the desired points, and using the central adjustable nut to tighten the assembly. It's crucial to ensure that only the central nut rotates during tightening and that the rods remain stationary. This prevents twisting and loosening of the connected components over time.
Overview
Main installation steps
1. Extend the turnbuckle: Extend each end of the turnbuckle until it is completely open. Note that the threads on each end are just hidden inside the ends of the turnbuckle body.
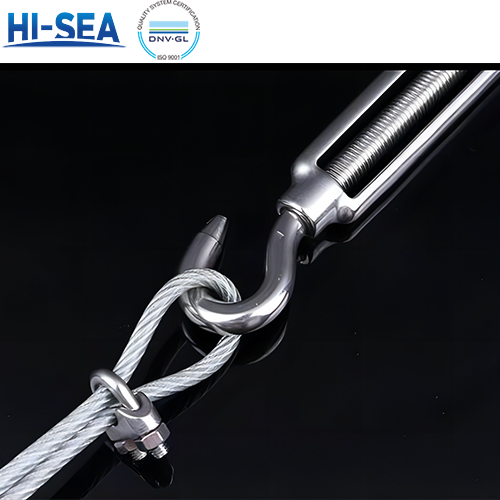
2. Connect the ends: Connect each end of the turnbuckle to the two termination points in your application. Ensure that the connections are secure.

3. Tighten the turnbuckle: Rotate the turnbuckle body to tighten it. The turnbuckle body should be the only part that rotates during this process.

4. Prevent rotation: If the turnbuckle is connecting into a cable, ensure that the cable end is secured and does not rotate. If the cable end rotates during tensioning, the cable will twist and gradually untwist over time, loosening the turnbuckle.

5. Check for secure connections: After tightening, double-check that all connections are secure and that the turnbuckle is properly installed.