How do we properly install a foot valve?
The selection of the foot valve should take into account the pipeline diameter, pumping volume and water depth and other factors to ensure that the specifications of the foot valve and pipeline matching. Foot valve material selection should be corrosion-resistant, anti-pressure and anti-wear characteristics, the fixing method usually adopts the bolt or wire buckle. Maintenance of the foot valve is also very important, need to be regularly cleaned and coated with antirust oil. Use of the environment should avoid too wet or strong vibration occasions, the foot valve must be matched with the pump to ensure that the pump pumping performance.
Overview
Steps for installing a foot valve:
1. Determine the installation location. The foot valve should be installed at the end of the pump outlet pipe, nearest to the pump outlet.
2. Prepare tools and materials. Prepare the required tools and materials, including the foot valve, bolts, gaskets, nuts, wrenches and so on.
3. Cleaning. Before installation, clean the inside of the pump and piping to ensure that there are no impurities and dirt.
4. Install the foot valve. Place the priming valve at the outlet of the pump, make sure the opening is facing the outlet direction of the pump, and use bolts, gaskets, nuts, etc. to fix the priming valve.
5. Adjust the position. After installation, adjust the position of the foot valve to ensure that it can open and close freely and will not collide with other parts.
6. Check the connection. Check whether the connection between the foot valve and the pump and pipeline is firm, to ensure that there is no looseness or leakage.
7. Test run. Test run after the completion of the installation, check whether the foot valve opening and closing is normal, whether it can effectively prevent the medium backflow.
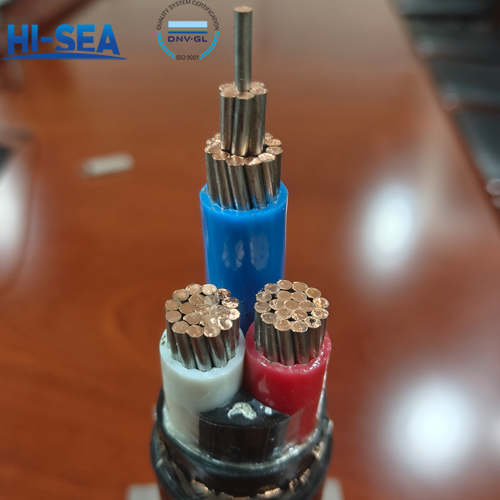
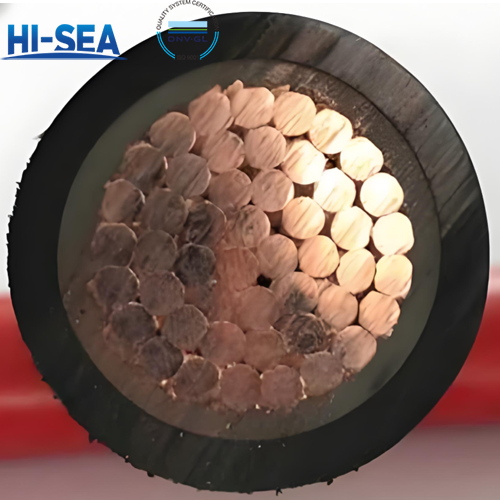
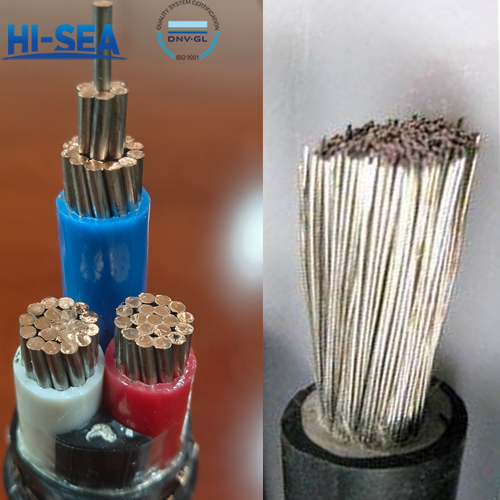
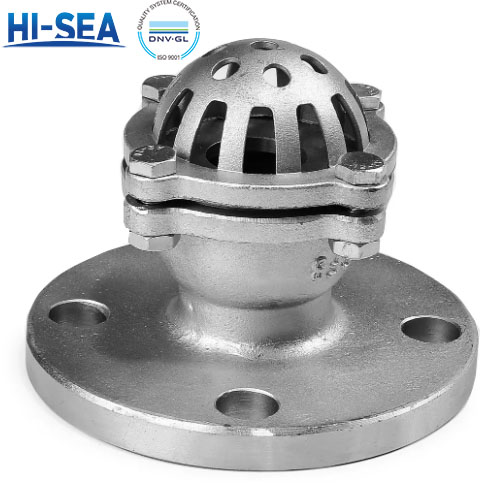
Picture: